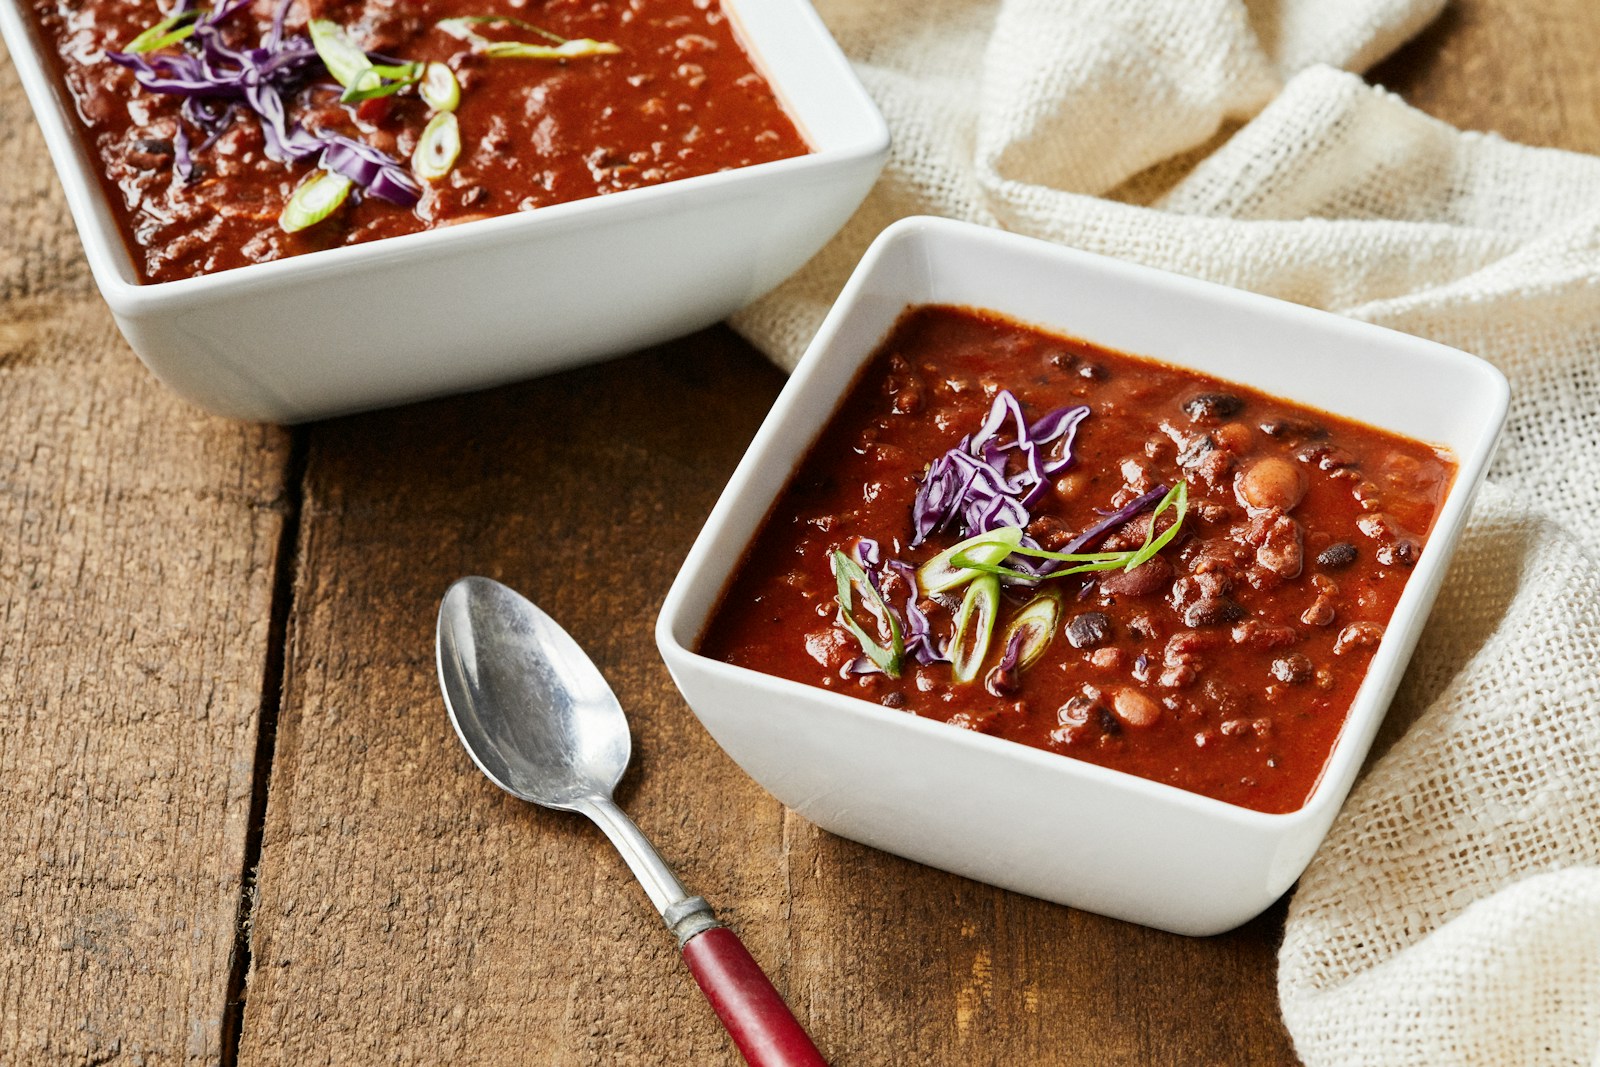
Chili stands as one of America’s most beloved comfort foods, perfect for cold winter days and family gatherings. This hearty dish combines beans, meat, vegetables, and spices into a satisfying meal that often yields generous leftovers. Understanding proper storage methods ensures you maximize both safety and flavor while minimizing food waste.
Proper food storage becomes crucial when dealing with perishable ingredients like meat and dairy products commonly found in chili recipes. Temperature control and timing play essential roles in preventing bacterial growth that could lead to foodborne illness. Following established guidelines helps preserve both nutritional value and taste quality.
Refrigerated chili storage timeframes
Fresh homemade chili maintains optimal quality for three to four days when stored properly in the refrigerator. This timeframe applies to chili containing meat, beans, vegetables, and standard seasonings. The United States Department of Agriculture establishes these guidelines based on bacterial growth patterns and food safety research.
Temperature consistency proves critical for safe storage. Your refrigerator should maintain a steady temperature of 40°F or below to slow bacterial multiplication effectively. Digital thermometers help monitor these conditions accurately, ensuring your chili remains safe throughout the storage period.
Several factors influence how long your chili stays fresh. Recipes containing dairy products like cheese or sour cream typically have shorter lifespans than dairy-free versions. Similarly, chili made with fresh vegetables may deteriorate faster than versions using canned ingredients. The cooking method also matters – properly cooked proteins contribute to longer storage life.
Container selection impacts storage duration significantly. Airtight containers prevent moisture loss and contamination while maintaining flavor integrity. Glass containers with tight-fitting lids work exceptionally well, though high-quality plastic containers serve adequately. Avoid storing chili in the original cooking pot, as large vessels cool slowly and promote bacterial growth.
Ingredient quality affects storage longevity. Fresh vegetables like quality onions and properly stored root vegetables contribute to better preservation. Using fresh, high-quality ingredients from the start extends your chili’s refrigerated lifespan naturally.
Signs your chili has spoiled
Visual indicators provide the first warning signs of spoilage. Fresh chili maintains its original color and consistency, while spoiled chili may develop an off-color appearance or unusual surface film. Mold growth appears as fuzzy patches in various colors, indicating immediate disposal necessity.
Texture changes signal deterioration. Fresh chili maintains a consistent, appetizing consistency. Slimy or unusually thick textures suggest bacterial growth and potential spoilage. These changes often accompany other warning signs and shouldn’t be ignored.
Aromatic changes offer another reliable spoilage indicator. Fresh chili emits pleasant, savory aromas characteristic of its ingredients and spices. Sour, rancid, or otherwise unpleasant odors indicate spoilage and potential safety hazards. Trust your nose – if something smells off, discard the chili immediately.
Taste testing should be approached cautiously. If visual and aromatic signs seem acceptable but you suspect spoilage, take only a small taste. Off flavors, excessive sourness, or unusual tastes indicate spoilage. Never consume chili that tastes questionable, regardless of other factors.
Time becomes a crucial factor in spoilage assessment. Even chili that appears and smells acceptable may be unsafe after extended storage periods. When in doubt, follow the “when in doubt, throw it out” principle to avoid potential foodborne illness.
Proper storage techniques for maximum freshness
Cooling procedures significantly impact storage success. Allow freshly cooked chili to cool at room temperature for no more than two hours before refrigeration. Placing hot chili directly in the refrigerator can raise internal temperatures and affect other stored foods negatively.
Portioning strategies enhance both safety and convenience. Divide large batches into smaller containers to promote faster cooling and easier reheating. This approach also allows you to thaw only needed portions, reducing waste and maintaining quality for remaining servings.
Container preparation involves several important steps :
- Clean containers thoroughly with hot, soapy water
- Ensure containers are completely dry before adding chili
- Leave appropriate headspace for expansion during freezing
- Label containers with contents and date
- Store containers in the main refrigerator body, not door compartments
Layering techniques work well for mixed dishes. Consider storing ingredients separately when possible – beans, meat, and vegetables can be combined during reheating. This method works particularly well with seasonal vegetables like root vegetables that may have different storage requirements.
Temperature monitoring requires consistent attention. Use refrigerator thermometers to verify proper temperatures regularly. Fluctuating temperatures can significantly reduce storage times and compromise food safety. Position chili containers away from frequently opened compartments to maintain steady temperatures.
Extending chili lifespan through freezing
Freezing capabilities dramatically extend chili storage from days to months. Properly frozen chili maintains quality for four to six months, though it remains safe indefinitely at 0°F or below. This preservation method proves invaluable for meal planning and batch cooking strategies.
Preparation steps ensure optimal frozen storage results. Cool chili completely before freezing to prevent ice crystal formation that affects texture negatively. Rapid cooling techniques like ice baths speed this process while maintaining food safety standards.
Container selection for freezing differs from refrigerated storage. Heavy-duty freezer bags work excellently for space efficiency, while rigid containers prevent crushing and provide better protection. Remove excess air from bags to prevent freezer burn and maintain quality longer.
Thawing procedures require careful planning and attention to safety. Transfer frozen chili to the refrigerator 24-48 hours before needed, depending on portion size. Cold water thawing offers faster results but requires more attention. Never thaw chili at room temperature, as this promotes dangerous bacterial growth.
Quality considerations change with freezing. Some ingredients like fresh vegetables may soften during freezing and thawing. Consider this when planning recipes or add fresh vegetables during reheating. Seasonings might intensify or diminish, requiring adjustment after thawing.
Meal planning benefits greatly from proper freezing techniques. Prepare large batches and freeze in family-sized portions for convenient future meals. This approach works particularly well with seasonal ingredients like unique root vegetables or seasonal fruits that might complement your chili recipes. Consider pairing with natural sweeteners or exploring seasonal variations with ingredients like different seasonal produce for variety throughout the year.


